How we built a website in 7 days
A key to modern-day marketing strategies lies in how quickly you can build a website or landing page. Here is the flow of how we built our website in 7 days.
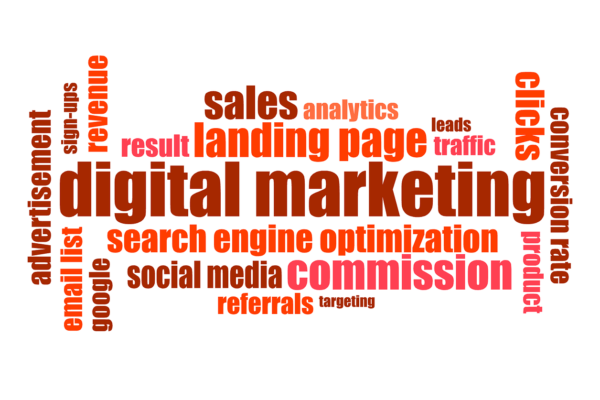
Before we head to the part where I endorse plenty of tools, here’s a little intro about us. We are a digital marketing firm where we conduct a lot of research and follow classic marketing methods. As such, a website is an integral part of any digital marketing activity as it acts as the base for all marketing campaigns. So the goal here was to quickly build a website that fulfills the following needs:
- A fast website (Tired of Google yelling that the page speed is slow).
- To provide all information regarding our brand.
- Good looking, nothing fancy. Yet be within the brand guidelines.
- Good SEO, with blogging option.
- A space to display our case studies and research content.
- And of course, really fast to build with minimal code.

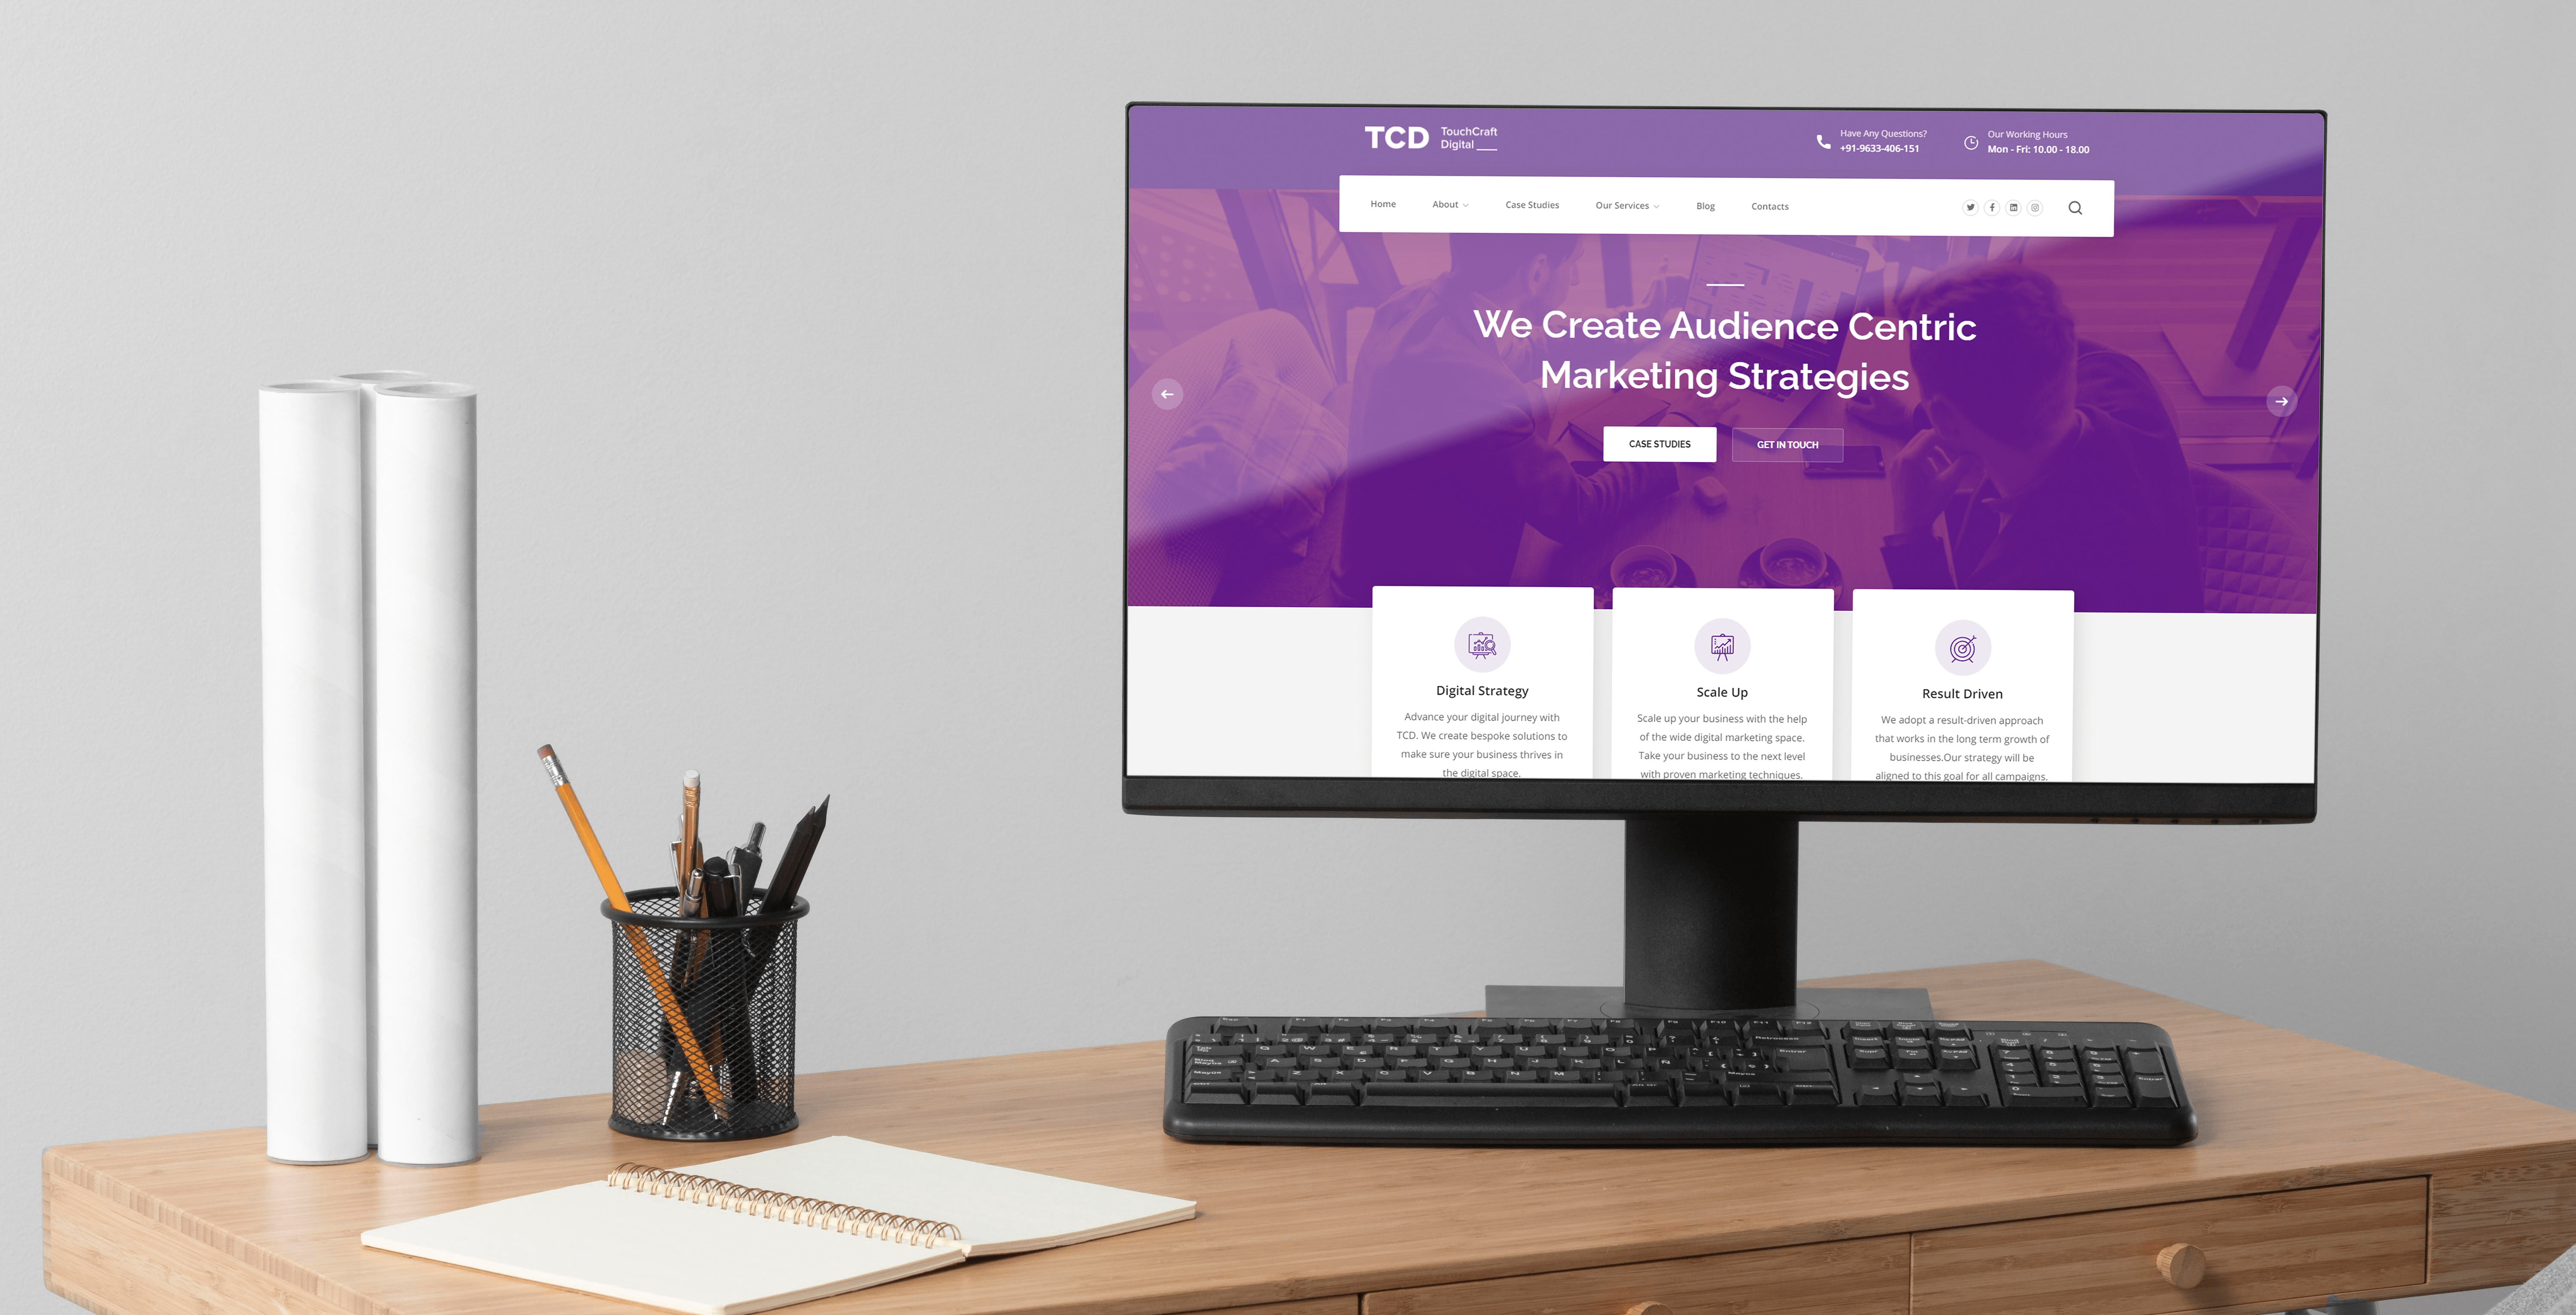
This website, touchcraft.in is our digital asset for conveying information to our audience.
Being a developer myself I always had this urge to use cutting-edge tech to build to keep it scalable and fast. However, the idea was not to display our tech prowess but just to get a decent website that fulfills the above points. The whole idea is to get the website up and running as quickly as possible. So let’s get to it.
Tech Stack to Quickly Build a Website, TL;DR –
- The Server – Hostinger
- The Framework – WordPress
- The Design – ThemeForest
- The Builder – Elementor
- The SEO – Yoast
- Images – Theme, Pexels and Freepik
- Design Tools – Photoshop, Illustrator

The Breakdown
Hostinger
There wasn’t plenty of thought put here. The server is decent and can get our content up and running quickly. Already having an account in Hostinger quickened decision making here. As a result, no fancy AWS, Google Cloud, or Digital Ocean was used. The hosting cost for the year is around $25. (You get a domain free with your first purchase)
WordPress
Have always been quite a skeptic of WordPress until recently. If you want to build a website quickly, look nowhere else. Meanwhile, my thoughts wandered to other platforms but why look elsewhere when you have a platform just custom made for your primary purposes.
ThemeForest
Once WordPress was selected, we had to pick a theme to speed up our design process. As a result, we went on to ThemeForest, the best and most comprehensive portal to find a good theme. You’ll get a good theme for around $60.
Elementor
We just had to make sure to select a theme that already had Elementor in it so that we could drag and drop stuff. I just had the basic version, but it did the work for our needs. The pricing version for Elementor premium is a bit confusing, but I would get it at some point of time in the future as it has some cool upgrades.
Yoast
When it comes to SEO, I don’t think there’s a better choice to get all the basics done quickly. The free version is what we use here. We may upgrade to the paid version once we are happy with the implementation of the basics.
Images
I recommend putting up personal and real images, but we were WFH the whole year and didn’t have many we could use. So we used some free images from Pexels. We have a premium version of Freepik (probably the most cost-efficient subscription on my list) for the remaining images. That comes to around $14 if it’s a one-month use.
Design Tools
Probably the first time in quite some time that I had never used Adobe XD. All the images were edited with Adobe Photoshop and the complete icon set was designed with Adobe Illustrator. That’s an Adobe Creative Cloud subscription for $60 per month. This is optional and you can always use free tools and icons. However, I’d recommend using custom icons for your branding to be seamless. More about this for another time.
Other Plugins from WordPress:
Backup – UpdraftPlus Backups
Image Compressions – WebP Converter for Media
Slides – Slider Revolution
Optimization – LiteSpeed Cache
CDN – Cloudfare
Timeline – 7 days Build
| Task | What did we do? | When? | Tools Used |
|---|---|---|---|
| 1 | Preparing a Content Structure | Day 1 | Google Docs |
| 2 | Picking a theme, Buying a Hosting Plan | Day 2 | Hostinger, ThemeForest |
| 3 | Installing Theme, Getting Basic Branding on Website | Day 3 | WordPress, Elementor |
| 4 | Structuring the Website, Menus, and Pages | Day 4 | Elementor |
| 5 | Adding Content, Images on the website | Day 5, 6 | Pexels, Illustrator, Adobe |
| 6 | Adding plugins – SEO, Backup, Image Optimization | Day 7 | Yoast, Image Compressor, UpdraftPlus |
| 7 | Review & Launch (Ok, built in 7, launched on the 8th) | Day 8 | Hostinger, WordPress |
How much did this cost?
The total cost involves a mandatory part, which I highly recommend investing in. In addition to this, we invested in some optional tools. These are the ones that I’m used to and speed up my workflow.
Mandatory Cost- $100
Optional Cost – $60
What Next?

The website needs plenty of work, especially on the content side. It had to be quickly up and running and the rest of the calibrations will be done with user feedback. Above all, it will become central to any digital marketing activities. Implementing a robust, classic marketing funnel will be vital.
As a result of this critical asset being ready, we can now move on to the next phase of the website with more improvements and even more marketing.
TCD posts on the topics of Digital Marketing, Branding, and UI/UX. We provide our services in these 3 categories as well. You can keep in touch and follow our blog. We research these topics and provide bespoke solutions to our clients. You can read more on the case studies too.